
How to Prepare Your Floor Plan for 3D Conversion
A clean, readable floor plan gives the 3D conversion process reliable information about walls, openings, room sizes, and circulation. Follow these four steps before you upload.

Before you upload
Why a good floor plan matters
Your floor plan is the source of truth for the first 3D model. Clear geometry helps the system distinguish walls from furniture, locate doors and windows, and estimate the shape of each room. When lines are broken, dimensions are hidden, or notes cover the drawing, the conversion needs to make more assumptions. A few minutes of preparation can produce a more accurate first result and reduce the number of corrections you need to make in the design chat.
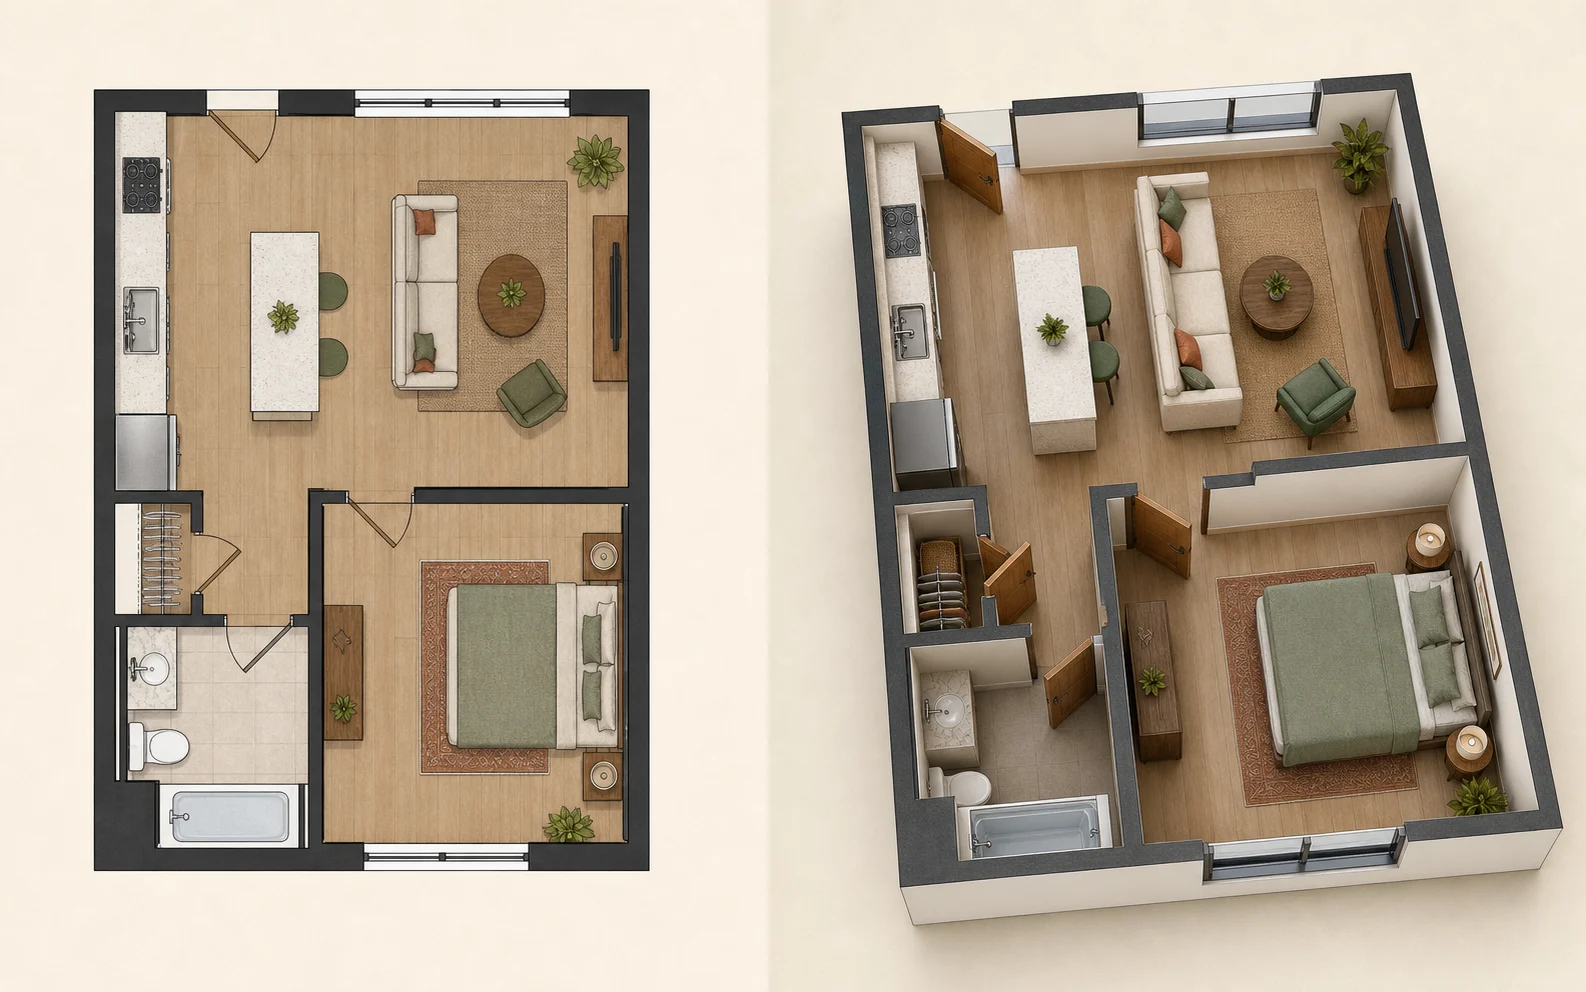
Four-step checklist
Prepare a floor plan that is easy to read.
Step 1: Ensure clear lines and closed walls
Check that exterior and interior wall lines are sharp, continuous, and easy to distinguish from furniture or annotation lines. Corners should meet cleanly, and rooms should be enclosed except at intentional openings such as doors, arches, and passageways. If you are working from a scan or photo, straighten the image and increase clarity without making thin lines disappear.
Quick check: zoom out until the whole plan is visible. You should still be able to trace the boundary of every room.
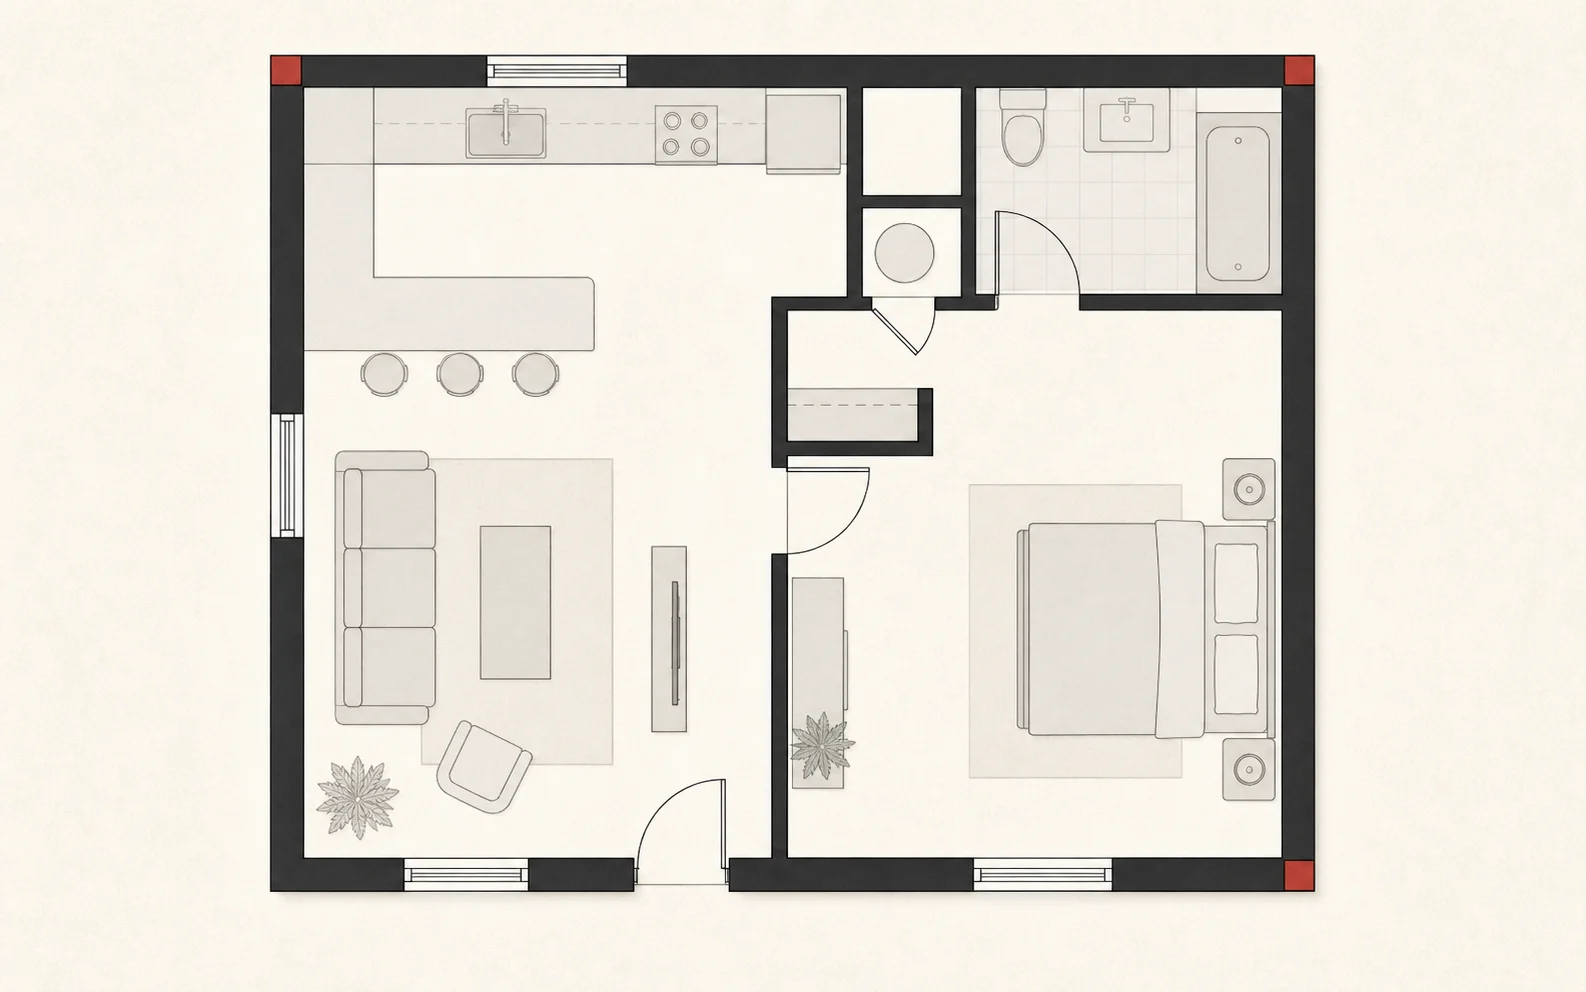 Closed wall boundaryConnected corners
Step 2: Label room dimensions
Keep clear room measurements on the plan whenever possible. Include the unit, such as feet and inches, millimeters, or centimeters, and retain at least one overall dimension that can be used to confirm scale. If a dimension is missing, add it outside the room so it does not cover walls, doors, or windows. Ceiling height is also helpful when it is known.
Quick check: use at least one known wall length to verify that the drawing has not been stretched or compressed.
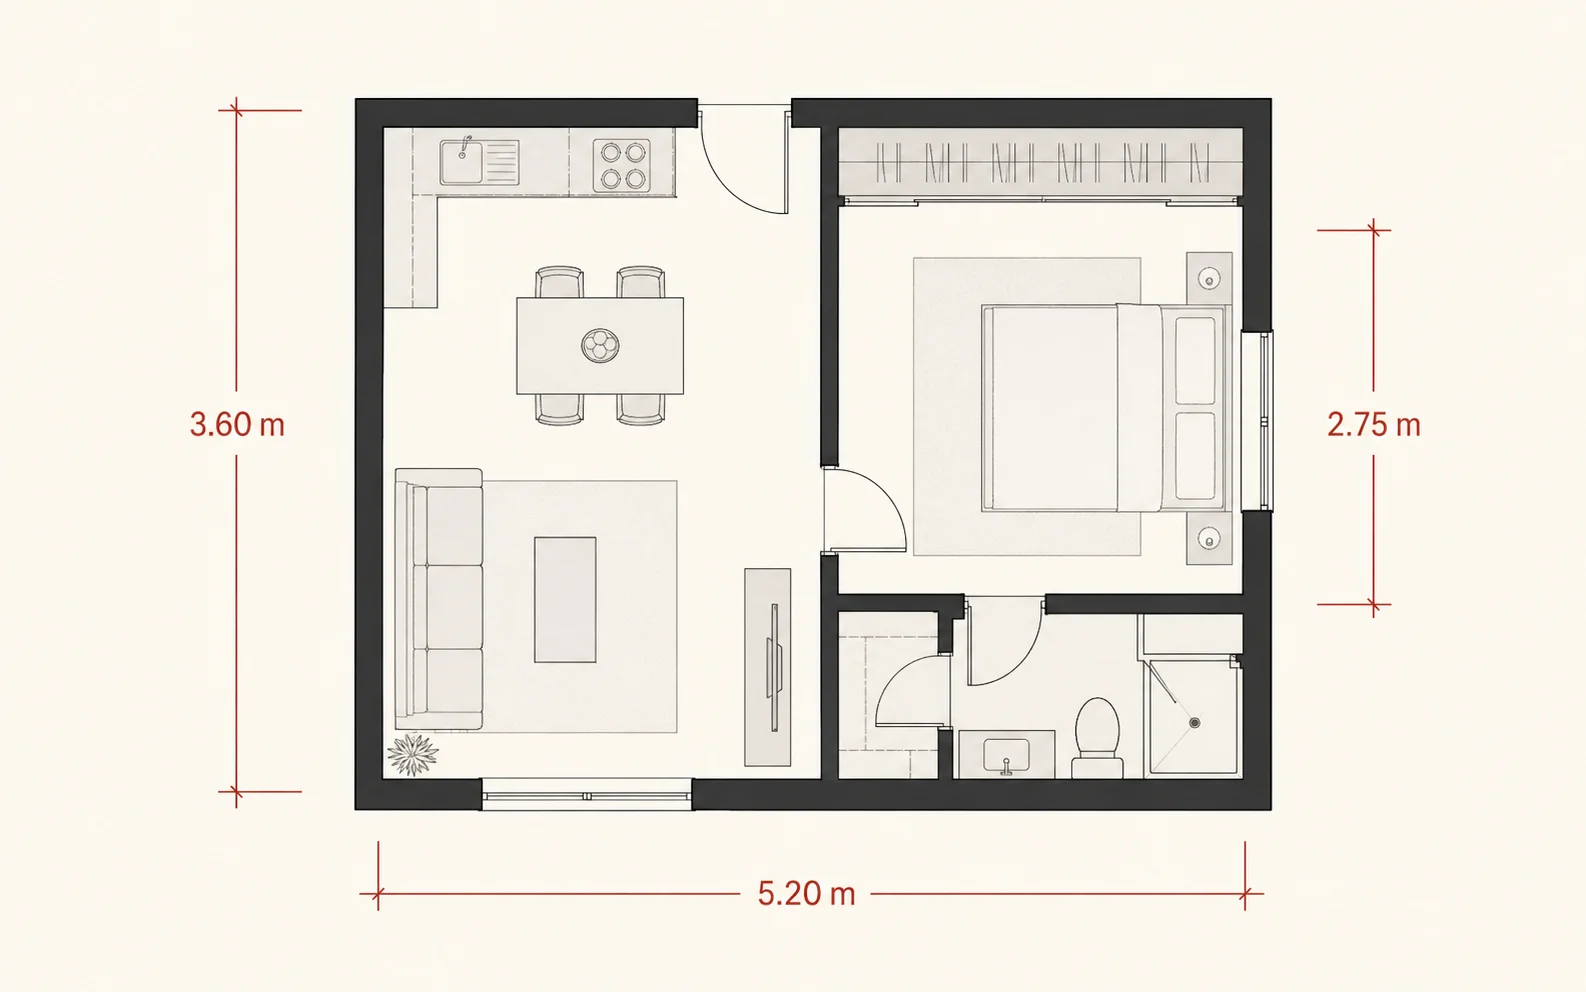 Scale anchorUnits included
Step 3: Remove unnecessary labels and watermarks
Remove listing copy, logos, revision clouds, handwritten comments, decorative borders, and watermarks that overlap the plan. Keep room names, dimensions, door swings, window openings, columns, stairs, and fixed kitchen or bathroom fixtures because they help explain the layout. When a watermark cannot be removed, choose a cleaner source file rather than painting over important geometry.
Quick check: if a note does not describe the building or the rooms, it probably does not need to be in the upload.
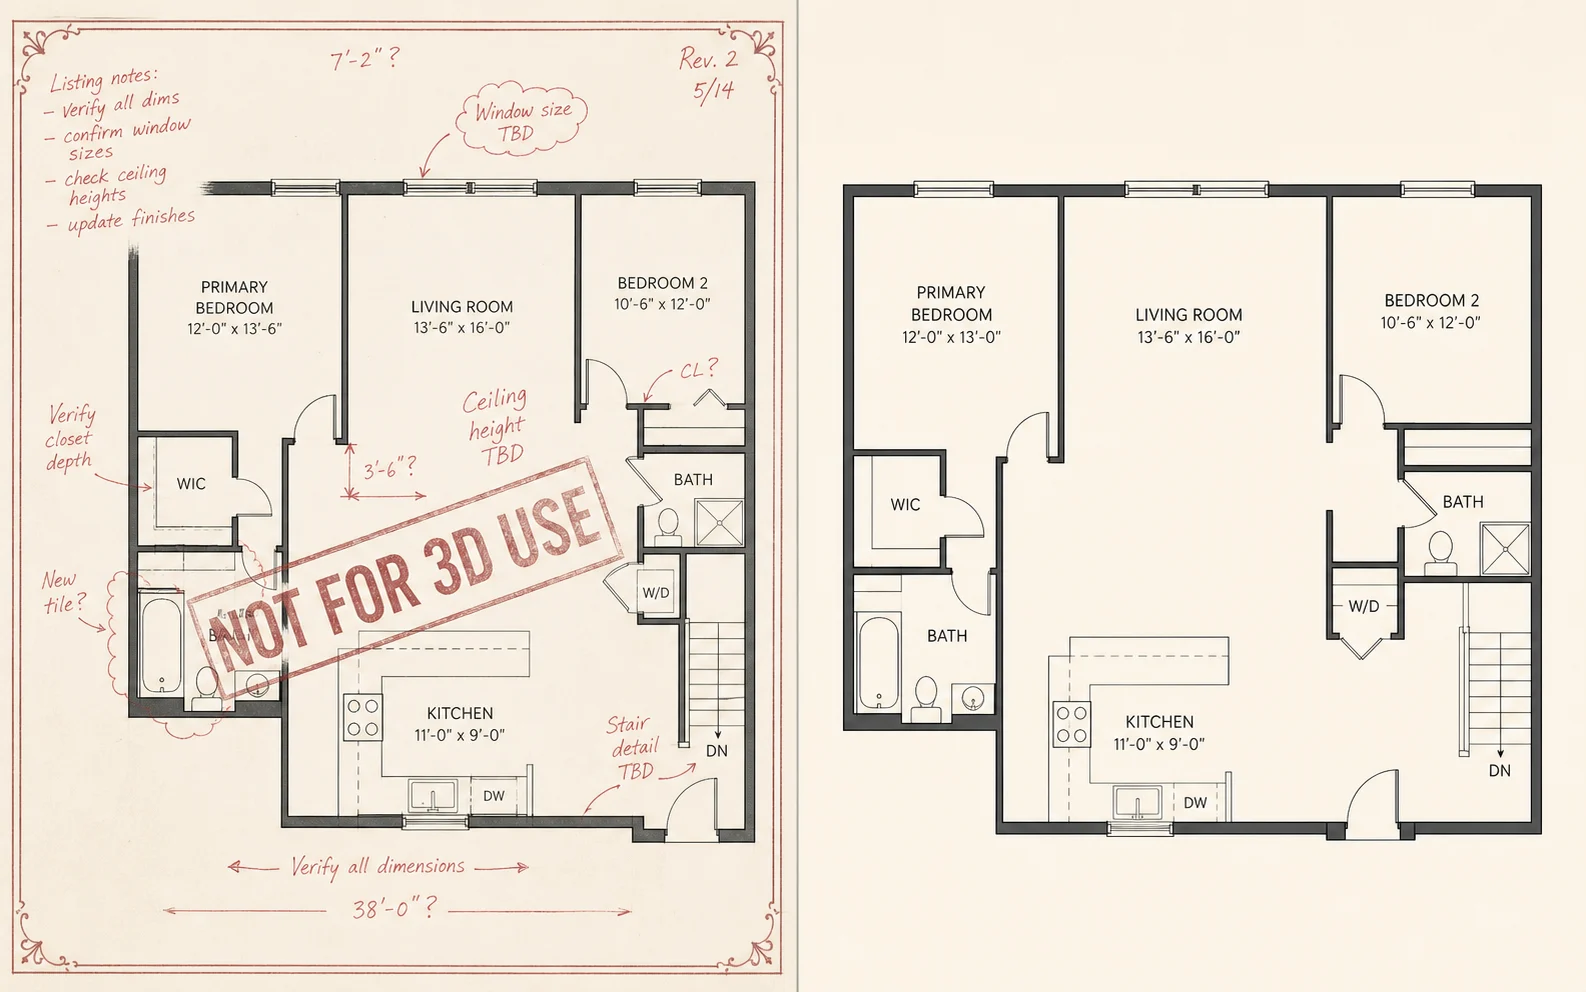 BeforeClean source
Step 4: Export as PNG or JPG
Upload PNG or JPG images directly. PDF and CAD files cannot be uploaded directly; export the relevant plan as PNG or JPG first. Export the finished plan as a high-quality PNG or JPG with the full drawing visible. PNG is usually best for crisp line work; JPG is suitable when it is saved at high quality. Preserve the original proportions, use a light background with dark lines, and avoid screenshots that include browser controls or phone interface elements. Do not crop out dimension labels or outer walls.
Need editable CAD linework from an existing image? Convert PNG to DXF or JPG to DXF, then check the exported units and scale.
Quick check: open the exported image on another device and confirm that wall lines and dimensions remain readable.
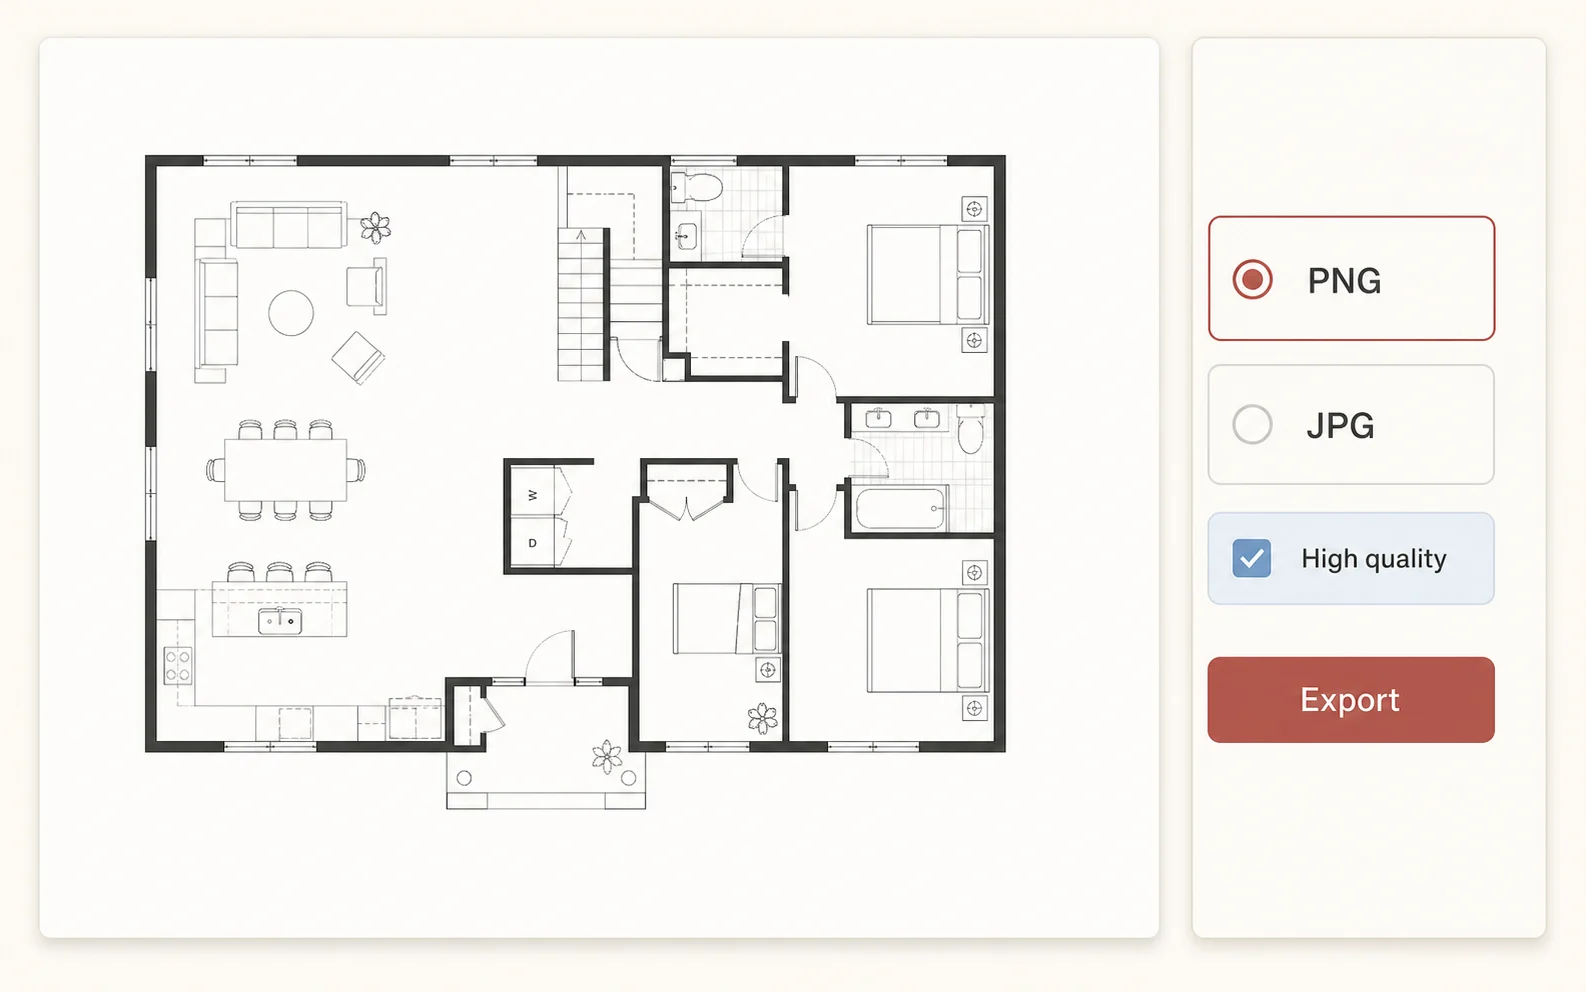 Export imageHigh quality
FAQ
Common floor plan preparation questions
Use these answers to choose the clearest source file before starting your 3D conversion.
Should I use PNG or JPG for my floor plan?
Upload PNG or JPG images directly. PDF and CAD files cannot be uploaded directly; export the relevant plan as PNG or JPG first. Use PNG when possible because it preserves crisp lines and text without compression artifacts. A high-quality JPG also works well, especially for a scanned drawing. In either format, keep the full plan readable and preserve its original proportions.
What if my floor plan has no dimensions?
You can still upload it, but the first 3D model may need scale corrections. Add at least one known measurement, such as the length of a wall or the width of a room, and include its unit. This gives the conversion a reliable scale reference.
Can I upload a photo or phone scan of a floor plan?
Yes, if the photo is taken straight above the page, evenly lit, in focus, and free from shadows or glare. Crop out the table or background without removing any part of the drawing, then straighten the image before exporting it.
What should I do if a watermark covers the plan?
Try to obtain the original drawing or a clean export from the designer, architect, property manager, or listing source. Do not erase a watermark when doing so would remove or invent wall lines. If no clean version exists, note the covered area when you begin the design.